Outside, it’s all sunshine and cheer as springtime starts to make its appearance once again. However, inside the home, things aren’t looking so fresh. After bundling up inside through winter, it’s understandable that your home could use a little pick-me-up.
Tackling that job is not a one-day endeavor, though, and trying to bang it out without a plan is a quick way to feel overwhelmed. Instead, breaking up your springtime cleaning into a week-long journey will help make the task more manageable, plus you’ll end up working less. It might sound too good to be true, but once you follow our 7-day spring cleaning challenge checklist, you’ll be a believer.

Day 1: Organization
Organization is an essential part of revitalizing your space any time of the year. With winter coming to an end, it’s probably common to have winter boots, blanket, throws, umbrellas, and slippers lying around your home. While the cold climate transitions into warmer days, you and your family might still want to keep these items around, so instead of packing them up in boxes until next winter, organize them in temporary storage areas.
Go around the home and gather similar objects into a basket or bin. This also applies for kids’ toys, gym equipment, school supplies, basically anything around the home that isn’t furniture or décor. The goal is to declutter your home so the smaller jobs the following days are as easy as possible.
Day 2: Heavy Dusting
Dusting and wiping down surfaces should always be the first step to cleaning any space. While each day in this springtime cleaning checklist will include dusting, starting with a through clean in the beginning will save you time throughout the rest of the week.
Here are a few pointers:
- Start high, including fan blades, atop cabinetry, and above appliances.
- Areas that attract dust include air vents, light fixtures, blinds, window sills, behind furniture, and static surfaces like electronics.
- Disposable dusting wants are handy, but microfiber cloths work just as well and are sustainable.
- Make sure to cover bedding and soft surfaces before dusting.
- Always vacuum after dusting to keep your home hygienic.

Day 3: Deep-Clean the Kitchen
Ah, the kitchen! Great things happen in this space — and so do big messes. But when it’s broken down, the real areas that require cleaning will be appliances, the floor, and surfaces.
- Start by giving the kitchen a wipe down, beginning from the top of appliances and cabinetry and working your way down. This shouldn’t be a full cleanse, just a light wiping before a deep-cleaning. Make sure to get forgotten surfaces, such as the inside of the microwave, drip trays beneath burners, and behind and under any décor on countertops.
- Next, tackle the inside of your refrigerator.
- Remove items inside and place them in a designated area.
- Next, wipe the refrigerator shelves and bins down with a wet towel.
- Then, remove the shelves and bins and wash in the sink.
- Dry, replace, and re-stock your refrigerator.
- Once the inside of the refrigerator has been cleaned, you can sweep up everything that’s been wiped onto the floor.
- After sweeping, run a load of dishes. Once the sink is free, you can give it a good scrub along with the countertops, and remaining appliance surfaces.
- Then, give the kitchen surfaces a final, thorough clean and dry.
- Finally, mop the floor.
Day 4: Tackle Living Room
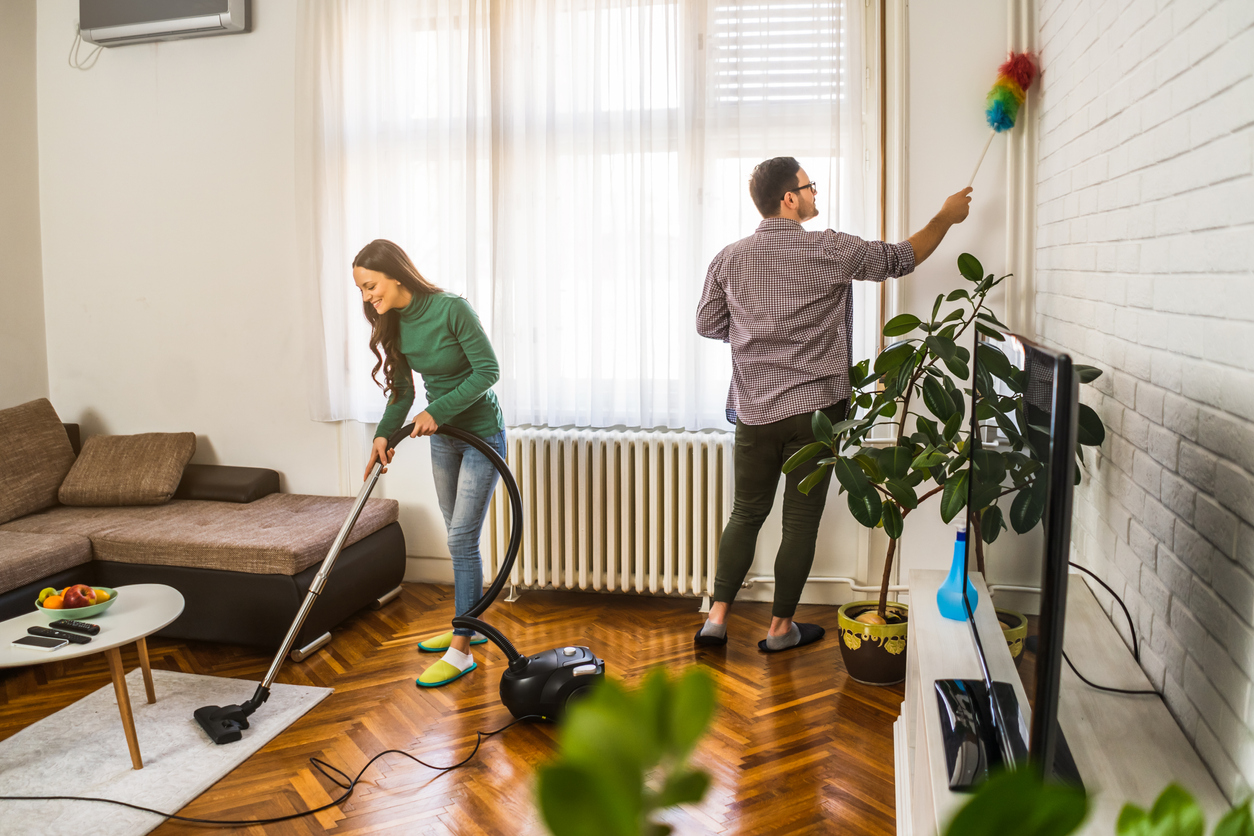
Day three was pretty intense, which is why the fourth day is strategically lighter with the living room. Thankfully, not much goes into sprucing up this area.
- Start by doing another quick roundup of items.
- Next, wipe down surfaces, including electronics, coffee tables, lamps, and window shades.
- Finally, give the area a vacuuming. If your vacuum has a hose attachment, we recommend getting into corners and air vents, as well as giving your seating furniture a run, ensuring to get between cushions, underneath the seats, and a pass over pillows, too.

Day 5: Freshen Up Bedrooms
Winter hibernation is almost over, which means the sleep dens are in need of serious cleaning. Here’s how to give them a refresher:
- Do a dusting starting from the top. Make sure to include blinds, ceiling fans and lamps, as well as bedroom furniture and electronics. No need to cover bedsheets (they’ll be taken off).
- After dusting, remove the bedsheets and place them in a laundry pile outside the room.
- Next, organize the space. Dirty clothes goes in the pile outside the room and clean clothes can stay on the bed until their ready to hang or fold. Other items, such as school supplies, electronics, makeup, and toys can be grouped into separate piles or bins.
- Finally, sprinkle the mattress with baking soda; let it sit for at least 30 minutes. While it sits, you can begin repeating steps 1 through 4 for any remaining bedrooms.
- Once you get to the last bedroom, gather all the laundry into one pile, set aside, and start vacuuming the bedrooms. Begin with the mattress, making sure to get into folds, creases, and beneath the raised boxspring, and then work your way to the floor.
- Finally, replace the mattress with new bedding.
Day 6: Bathrooms
We’ve saved bathrooms as the second-to-last step in order to keep your home as functional as possible. It’s one of the most used areas of the home, so giving everyone a full week to use them will keep the whole family happy. In order to stay as hygienic as possible, always clean your bathroom with rubber gloves, and use a mask to avoid breathing in fumes, bacteria and viruses.
- Since bathrooms tend to be more cluttered, this time around, start by clearing the counters and grouping items into boxes or bins; organizing them as you go will help you put them back just how they were later.
- Next, a good, old wipe down. You know the drill: Start from the bottom and work your way down.
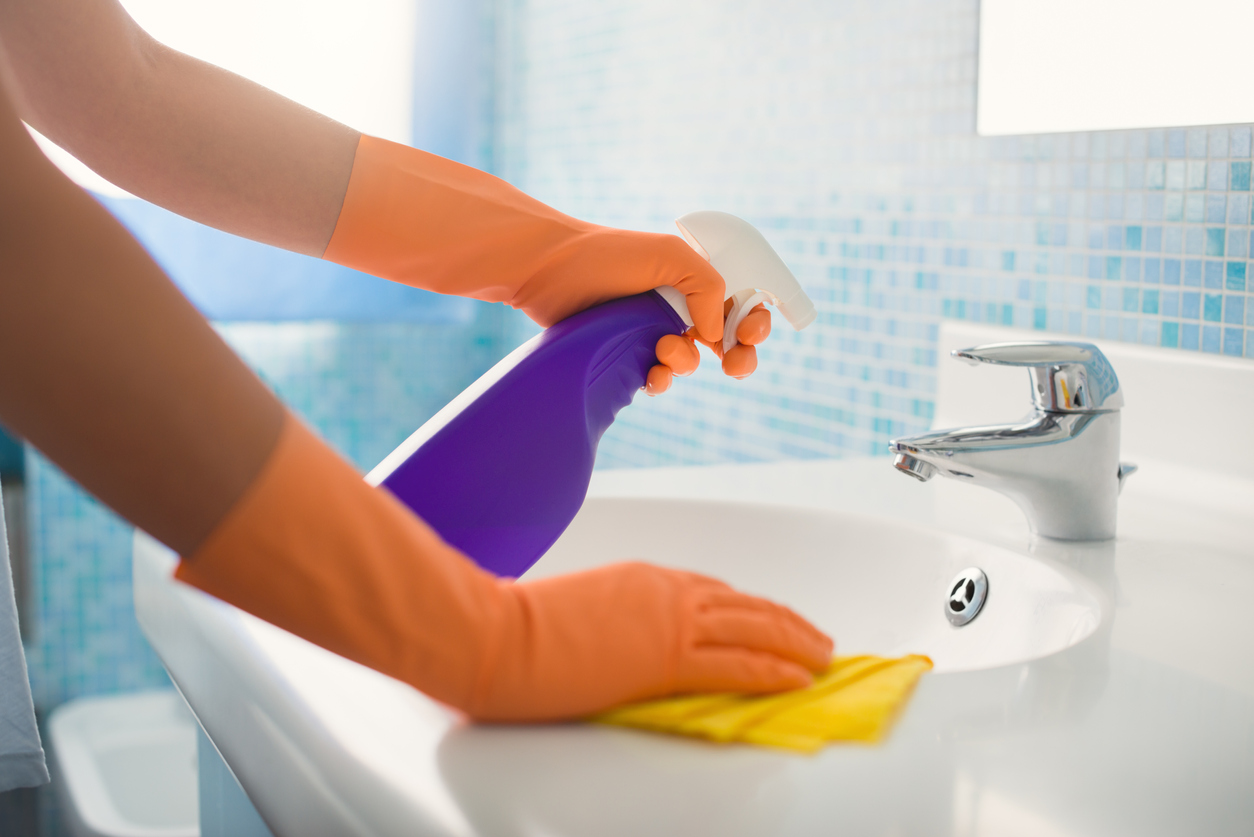
- Then, give the bathroom surfaces a spray of cleaner, making sure to tend to the faucet, sink, all around and in the toilet bowel, and the shower.
- Tip: Don’t bother cleaning the mirror now; save it for last to avoid splashes.
- While the cleaners set, sweep the bathroom, empty into a garbage bin, and place outside the bathroom.
- After letting the cleaners work their magic, scrub them down. We recommend starting with the sink, working your way over to the shower, and then the toilet last to keep the process as sterile as possible.
- Next, clean the mirror.
- Tip: Apply a thin layer of shaving cream on the mirror and then wipe it off with a microfiber cloth to create a fog-resistant surface.
- Finally, mop the floor. Depending on what kind of bathroom floor your home has, adding bleach to the mop solution is highly suggested when applicable.

Day 7: The Small Details
The seventh and final day is all about the small details. Since you’ve successfully given the home a complete clean, all that’s left to do is some light vacuuming, spot-clean appliances, and maybe rally up the dirty laundry from the week.
Celebrate Year-Round Savings
No matter when the cleaning-bug bites, a dose of design inspiration is always a refreshing change of pace in every home. You’ve conquered the 7-day cleaning challenge, so reward yourself to an interior design makeover with our catalog of furniture from top brand names. Browse, shop, and compare in-store or online today!